Controlling an Arduino with a Bluetooth module
In this tutorial, I am going to show you how to control objects with a smartphone in an Arduino. So with this video, I wanted to give you all a basic run-through of what it’s going to take to make that work.
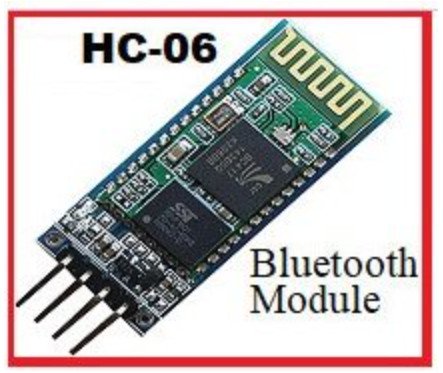
For the project, I am about to show you the parts you’re going to need are obviously a smartphone an Arduino, an Arduino Bluetooth module, and an LED. The goal of this project will be to use a smartphone to light up a LED. Okay let’s first take a look at this little Bluetooth module as you can see in Figure 1, it has 4 connectors VCC which is its power, GND the ground RX the receiver, and TX the transmitter.

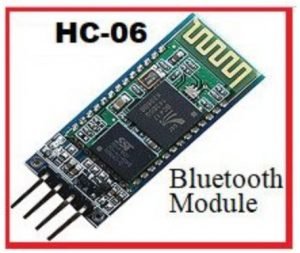
Figure 1 shows the HC-06 Serial Bluetooth Module, Wireless RF Transceiver Module

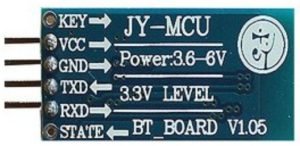
Figure 2 displays the backside of the HC-06 board

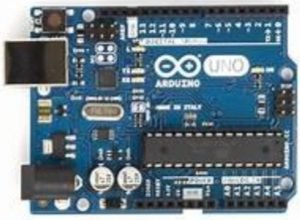
Figure 3 displays the Arduino board


Figure 4 displays an LED

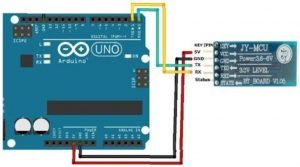
Figure 5 displays the connection diagram of the Arduino and HC-06
Alright now let’s put a little LED in ports G and D and 13 like this. Then let’s jump over to the code and using the Arduino software which you can download here let’s add this code to it. Create a variable for the led pin and set it to port 13 then make an on state variable and set it to 0. Lastly, make an on flag variable and set it to 0 as well. Now let’s make a set of functions setting the pin mode to read output only and setting the write mode to low. Now let’s set the serial baud rate to 9600 which is the default baud rate for this Bluetooth module.
Next, let’s create a looping function for turning the LED on and off (see Figure). Let’s make an if statement to read our serial data and sent it to the state variable and then set the flag to 0 at the beginning of the loop. Now we can say if the statement we set is 0, then we can use the digital write method to turn the LED off. Then we can look at the flag value and if it’s 0, then we can print the LED state to the console and then set the flag to 1. After that, we can do a similar statement but check to see if the state is equal to 1 and if it is, turn the LED on and print its state to the console.

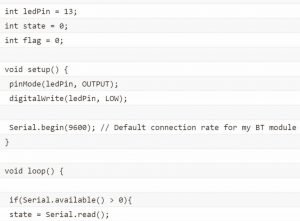
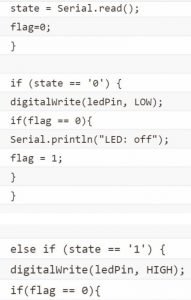
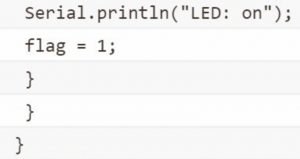
 Figure 6 displays the test code for the Arduino
Alright now save it, verify it and before uploading it make sure that under tools that your board is set to the correct version of the Arduino that you have and that the correct serial port is also selected.
Okay then click upload. If you get this error message then don’t worry apparently this is common with Bluetooth devices just disconnect the RX and TX cables and upload the program again and this time when it succeeds go ahead and plug them back in.
The next step would generally be to write an Android program to interface with the Bluetooth module which would be a whole another tutorial. But there’s already a great program called ArduDroid on the Android market that will do exactly what we want. Alright after you have it downloaded making sure Bluetooth is on open up the ArduDroid app and from the menu select connect me to a Bluetooth device. If it successfully connects, then the hard part is done you can now select port 13 at the top and send it either a 1 or a 0 to turn the LED on or off. Alright, that should give you a good starting point for the basics of using Arduino and Bluetooth.